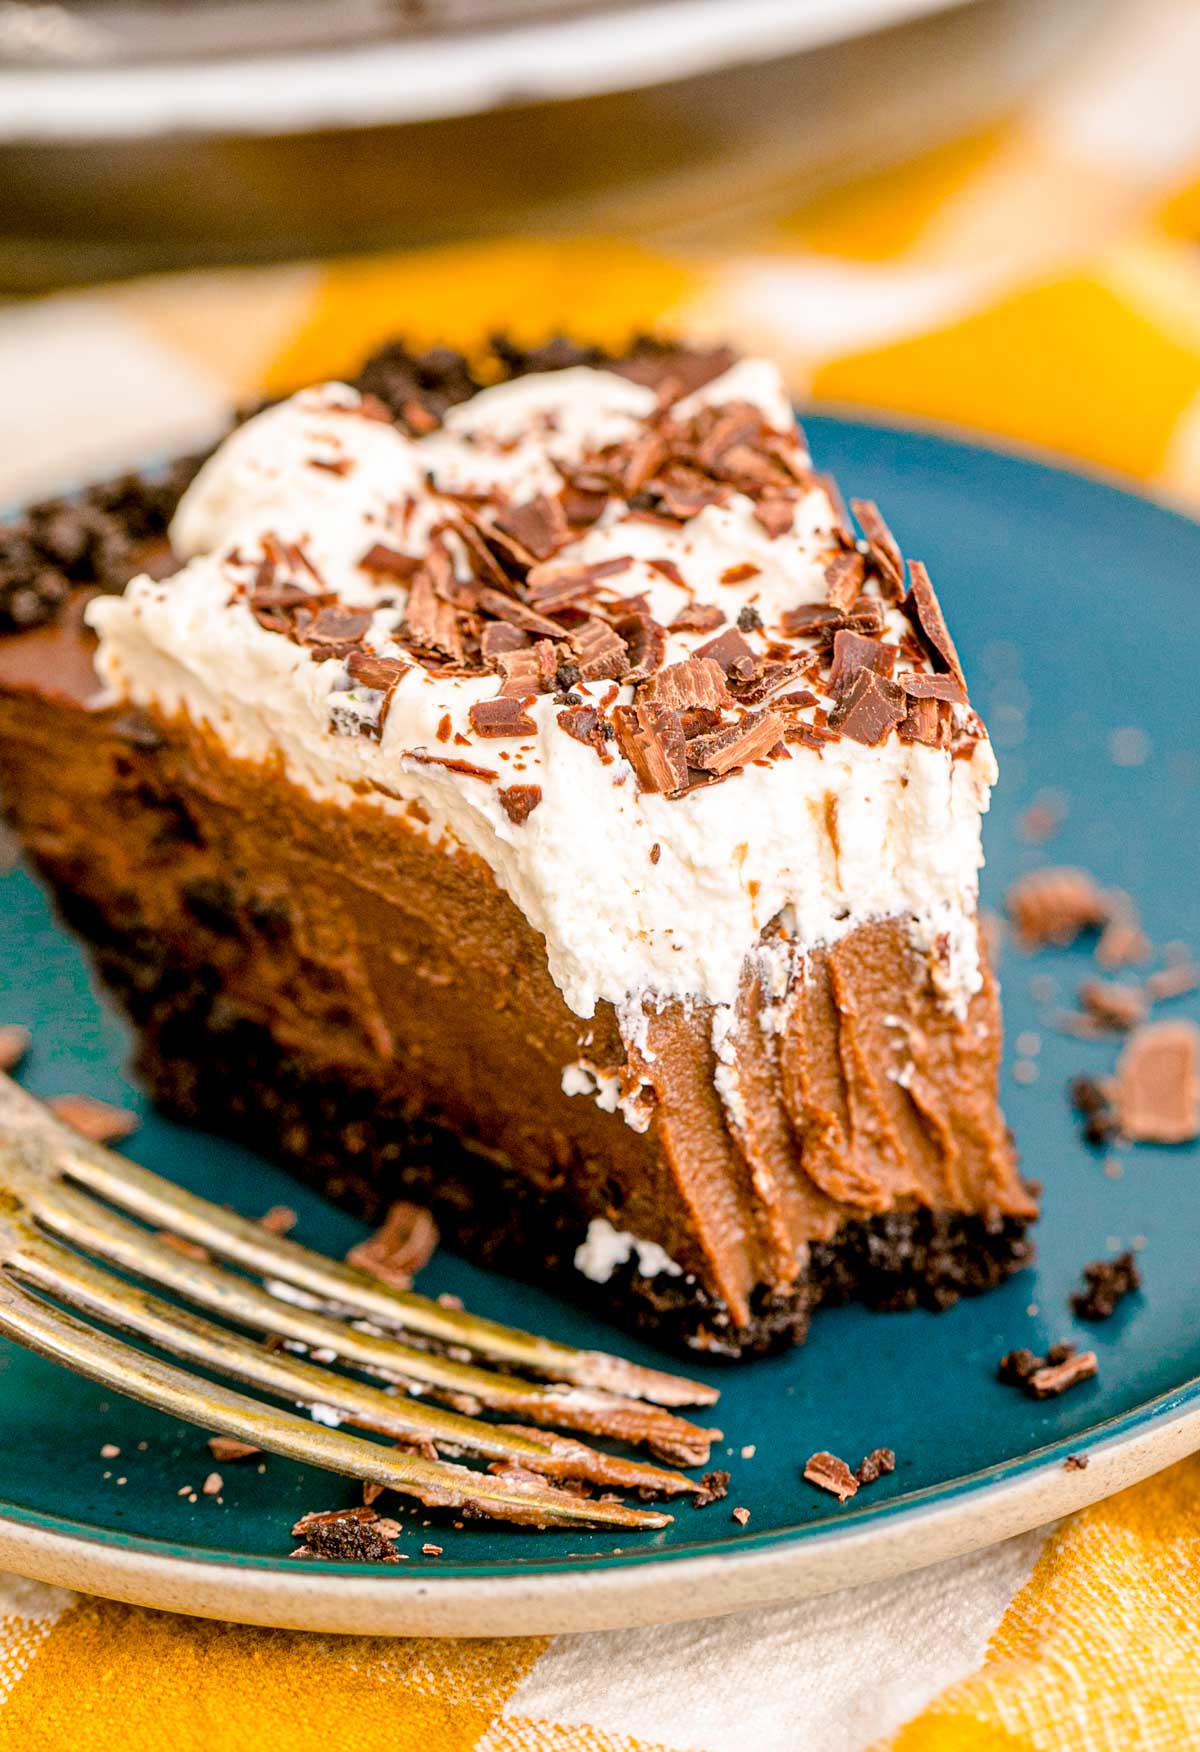
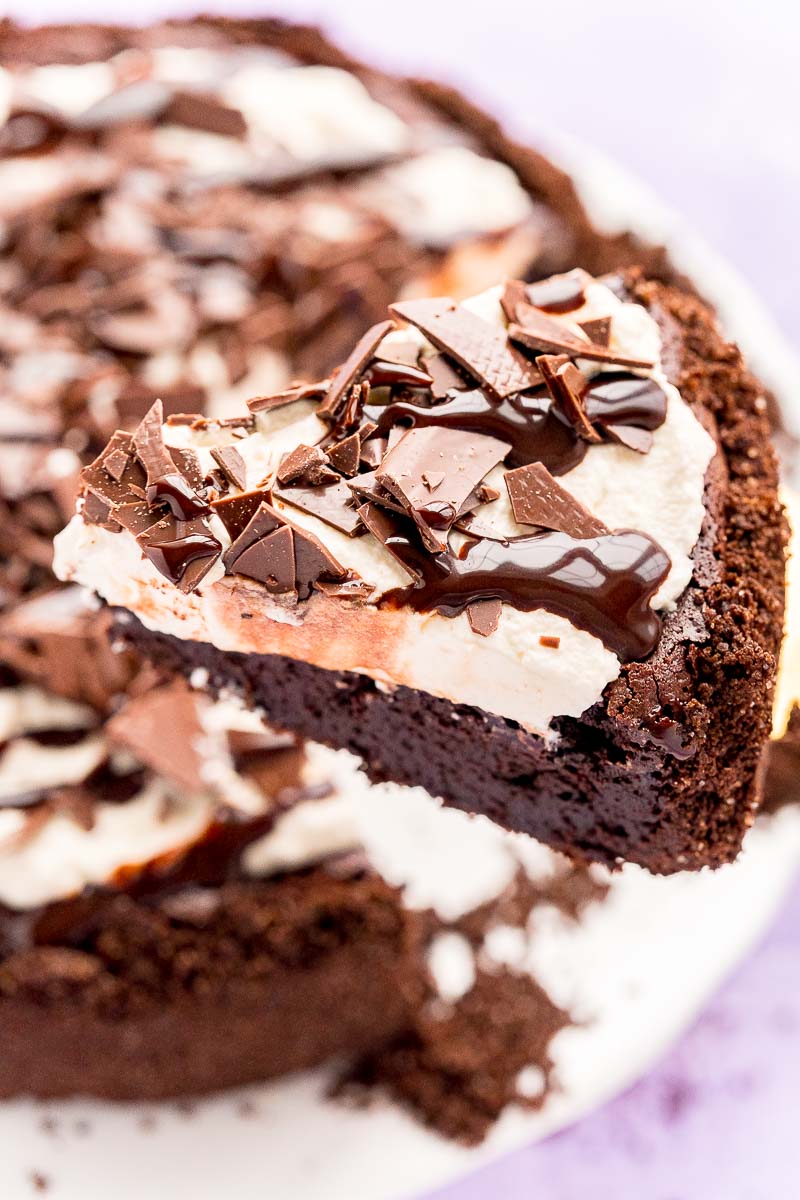
No Bake Chocolate Butterfinger Pie
This Butterfinger Pie recipe is an easy no-bake treat with layers of peanut butter and chocolate goodness! A cool and delightfully sweet dessert that's perfect for any ocassion!

This No Bake Butterfinger Pie is a decadently layered chilled dessert that has an Oreo crust and lots of chopped Butterfinger candy bar pieces! Prep this incredibly delicious dessert in just 20 minutes!
All About This Butterfinger Pie No Bake Dessert
Amaze friends and family with this easy-to-make No Bake Butterfinger Pie! Layers of luscious filling are topped with chopped Butterfinger pieces, chocolate chips, and a drizzle of chocolate syrup!
This chilled treat is one to enjoy year-round! Though it would make an especially excellent dessert to bring to cookouts and other summertime get-togethers!
Butterfinger Pie Ingredients
- Oreo Crust
- Oreo Cookie Crumbs
- Unsalted Butter
- Sal
- Filling
- Cream Cheese
- Creamy Peanut Butter
- Powdered Sugar
- Butterfingers
- Cool Whip
- Boxes of Chocolate Fudge Pudding Mix
- Whole Milk
- Toppings
- Cool Whip
- Butterfinger Bar
- Semi-Sweet Chocolate Chips
- Chocolate Syrup
Customize This Butterfinger Pie To Fit Your Own Taste Buds
This Easy Butterfinger Pie Recipe is absolutely divine, just the way it is! But I also understand everyone’s taste buds are different, so here are some easy ideas to customize this pie!
When it comes to the pie crust, you can try using a different cookie. A graham cracker crust or even a nutter butter crust would be a tasty swap!
As for the pudding mix, try making this with any flavor you’d like! Since this recipe uses two packets, you could make one layer of chocolate fudge and an extra layer of peanut butter flavored.
You could even switch up the candy bar that’s used in this pie! Instead of Butterfinger, try chopped Reese’s peanut butter cups.
Ingredient Notes For Easy No-Bake Butterfinger Pie
- Crushed Butterfinger – Check the aisle at your grocery store that carries ice cream toppings, as some stores carry crushed Butterfinger. If not, you can easily crush up Butterfinger bars in a food processor or a Ziploc bag using a rolling pin or kitchen mallet.
- Peanut Butter – Stick to making this pie with processed peanut butter brands such as JIF or Skippy. The oil in all-natural peanut butter tends to separate, causing the pie not to set up or stay together properly.
- Cream Cheese – In this Butterfinger Candy Bar Pie, you want to make sure to use full-fat cream cheese. If the whipped variety is used, the texture of this dessert will be altered, and it may not hold its shape.
- Crust Tricks – Since this recipe is a no-bake, the crust is held together by the solidified butter from refrigeration. This is why the pie crust must be chilled before assembling and layering in the pie filling. If you’d rather, you can bake the pie at 350 degrees F for 10 minutes. It will then need to be cooled completely on a wire rack before adding the filling.
If you can’t find boxes of Oreo crumbs in the baking aisle, you can use 28 regular-sized Oreos instead and turn them into fine crumbs in a food processor.
How To Make Butterfinger Pie
1. Prepare the crust by mixing together the Oreo crumbs, melted butter, and salt until evenly moistened. Press the mixture into a pie dish.
2. Prepare the cheesecake later by beating together the cream cheese, peanut butter, powdered sugar, Butterfinger pieces, and Cool Whip. Spread the mixture out evenly in the prepared Oreo crust.
3. Prepare the pudding layer by whisking together the boxes of pudding mix with cold milk until smooth. Spread the mixture over the top of the cheesecake layer.
4. Spread another layer of Cool Whip over the top of the pudding layer and top with more candy bar pieces, chocolate chips, and chocolate syrup.
Storage Instructions For No-Bake Butterfinger Pie
To store leftovers, you can tightly wrap the pie plate with plastic wrap or transfer slices into airtight containers. Leftovers can then be stored in the refrigerator to be enjoyed for up to 3 to 5 days.
Make This Butterfinger Pie To Freeze And Serve Later!
Yes, this pie can be frozen in an airtight container or made in a freezer-safe pie dish and wrapped tightly. The pie can then be frozen for up to one month.
When you’re ready to serve it, transfer it to the refrigerator to thaw. Or, on hot days, enjoy it partly frozen for an ice cream-like consistency!
More Amazing Pie Recipes:
- No Bake Raspberry Cream Pie – A creamy, cheesecake-like filling!
- Butterscotch Pie – Rich, silky-smooth custard filling nestled in a flaky crust!
- Chocolate Toll House Pie Recipe – Enjoy a slice with whipped cream or vanilla ice cream!
- Homemade Pecan Pie Recipe – A holiday staple that can be made in advance!
- Peanut Butter Pie – Made with a pretzel crust and lots of peanut buttery flavor!
Steps
Lightly grease a 9-inch deep dished pie pan with cooking spray and set aside. You could also use a springform pan.
In a medium mixing bowl, combine , , and .
Pour the crumb mixture into the prepared pie pan and press it firmly into the bottom of the pan and up the sides. Then, place it in the refrigerator to chill while the filling is prepared.
In a large mixing bowl, beat the , , and until smooth.
Fold and (thawed) into the peanut butter mixture with a rubber spatula until evenly combined and there are no more streaks of white.
Transfer the Butterfinger mixture to the prepared crust and spread it into an even layer.
In a medium mixing bowl, whisk together the and for 2 to 3 minutes until it thickens.
Carefully spread the chocolate pudding layer evenly on top of the Butterfinger cream cheese layer.
Spread the remaining evenly on top of the pudding.
Sprinkle with chopped and . Then drizzle all over the top.
Place in the refrigerator to chill for at least 4 hours or overnight.
Notes
- How To Store: Store leftovers in an airtight container in the refrigerator for up to 3-5 days.
- How To Freeze: You can freeze this dessert in an airtight container for up to one month. Thaw it in the fridge before serving. Or you can even eat it partly frozen for more of an ice cream consistency!
- You can substitute a different cookie for the crust if you’d like. Try making it with a graham cracker crust or even a nutter butter crust!
Make sure to use full-fat cream cheese and not the whipped variety. It will alter the texture of this dessert and may not hold its shape. - Processed peanut butter brands like JIF or Skippy turn out the best with this recipe. The oil tends to separate in the all-natural peanut butter.
- You can use a different flavor of pudding mix instead of the Chocolate Fudge flavor if you like. This recipe uses two packets. You can even make one layer of Chocolate Fudge and then make an extra layer of a peanut butter flavor, using one packet each.
- Instead of Butterfinger, try chopped Reese’s peanut butter cups!
- Because the Oreo crust is no-bake, it is held together by the solidified butter from refrigeration. Before adding the filling, make sure to chill it in the prepared pie pan. Chilling it will ensure it sticks together.
- If you can't find boxes of Oreo crumbs in the baking aisle, you can use 28 regular-sized Oreos instead and turn them into fine crumbs in a food processor.
- I recommend chopping your own Butterfinger bars instead of using the bag of crumbs from the baking aisle.
Nutrition
- Calories598
- Carbs69g
- Protein9g
- Fat34g
- Saturated fat17g
- Fiber2g
- Sugar45g
- Sodium389mg
Estimates per serving, when a serving size is listed.
More recipes
Eight more from the same shelf.