Chocolate Covered Halloween Oreos
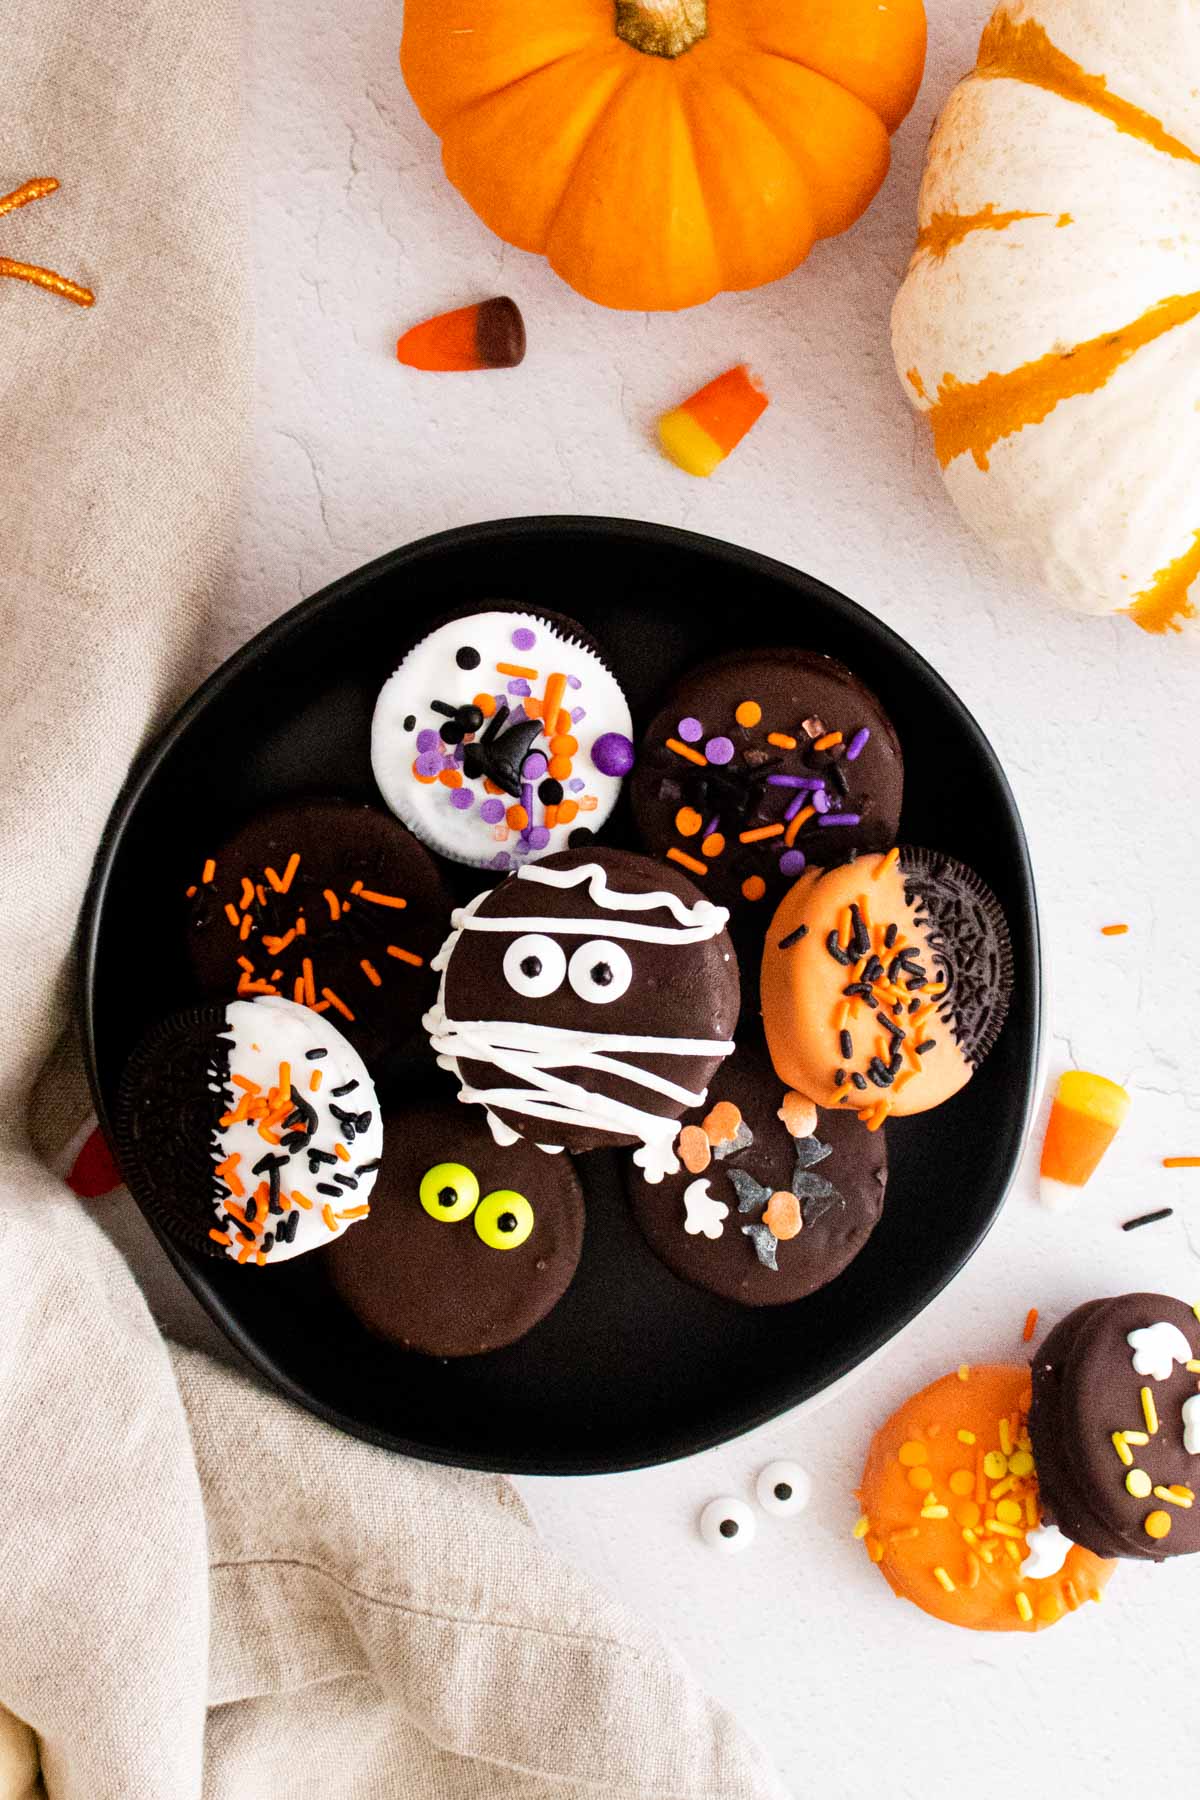
Halloween Chocolate Covered Oreos combine candy with everyone’s favorite cookie! Oreos are dipped in melted chocolate and covered in Halloween sprinkles, candy eyeballs, and chocolate swirls.
Yummy Chocolate Dipped Oreos
Personally, I could enjoy Oreo cookies anytime, anywhere. So when it comes to making sweet treats with these chocolate sandwich cookies, I simply can’t resist!
This recipe is also fun to make with kids. They’ll love decorating their cookies with sprinkles and candy eyeballs! Or, try making spooky designs with swirls of chocolate, gummy bugs, icing “blood” … anything you can dream up!
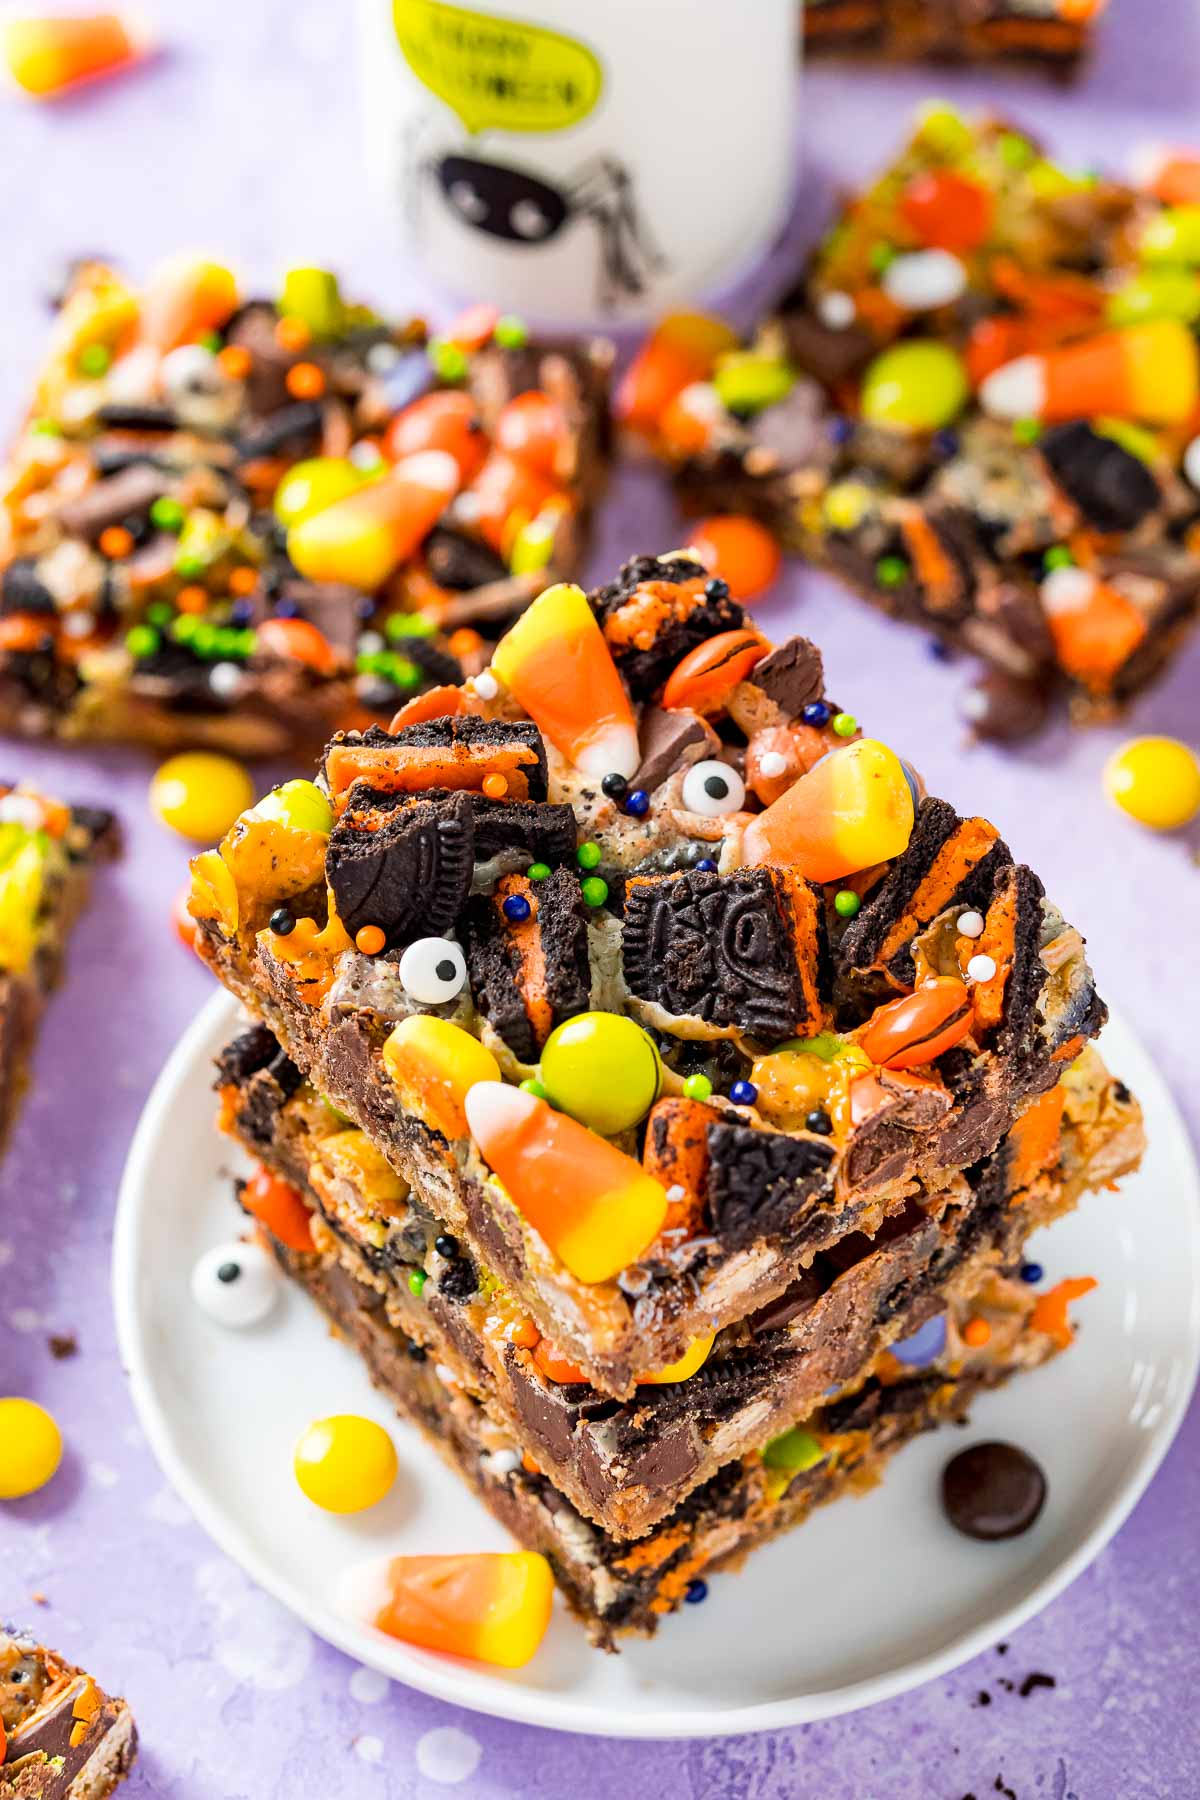
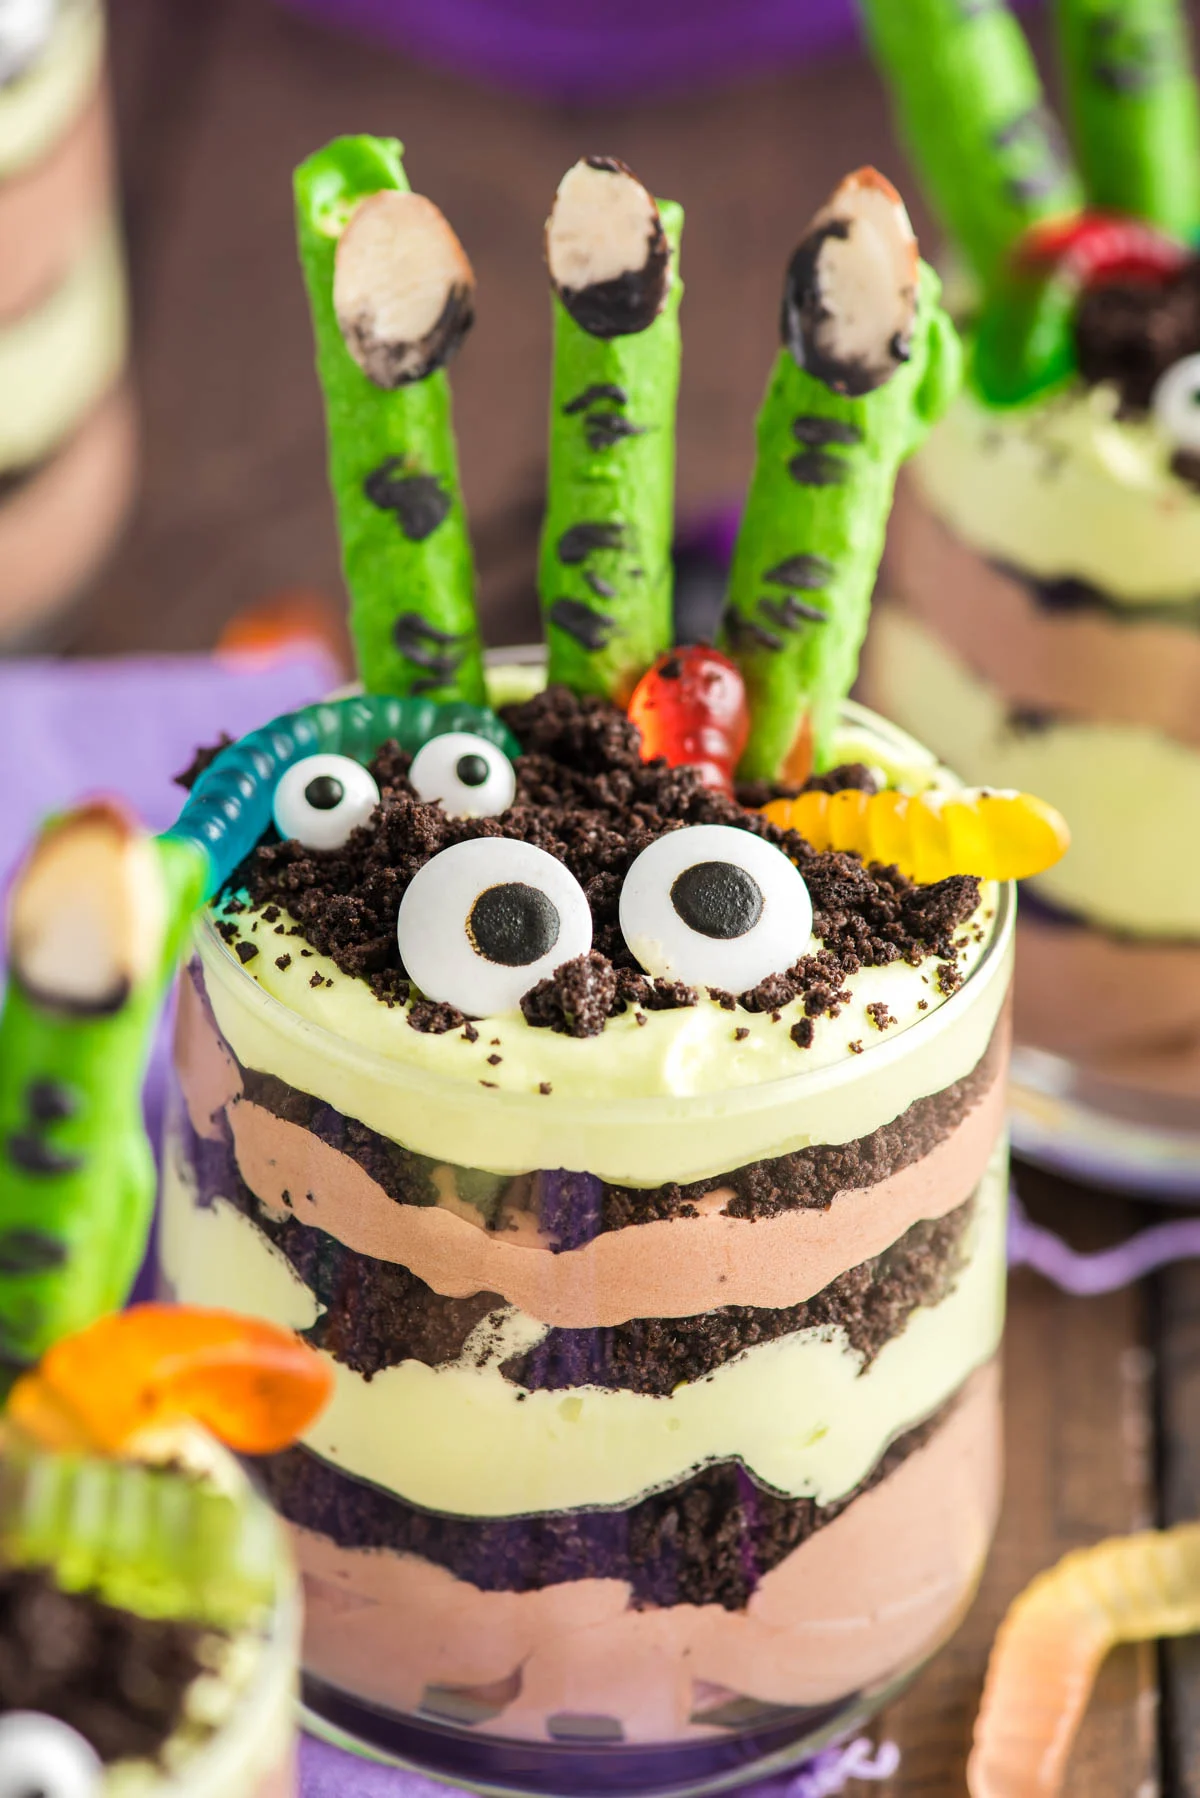
To get in the spirit of things, try my Halloween Seven Layer Magic Bars, Halloween Monster Cookies, and Goosebumps Punch, too!
Ingredients For Chocolate Covered Oreos
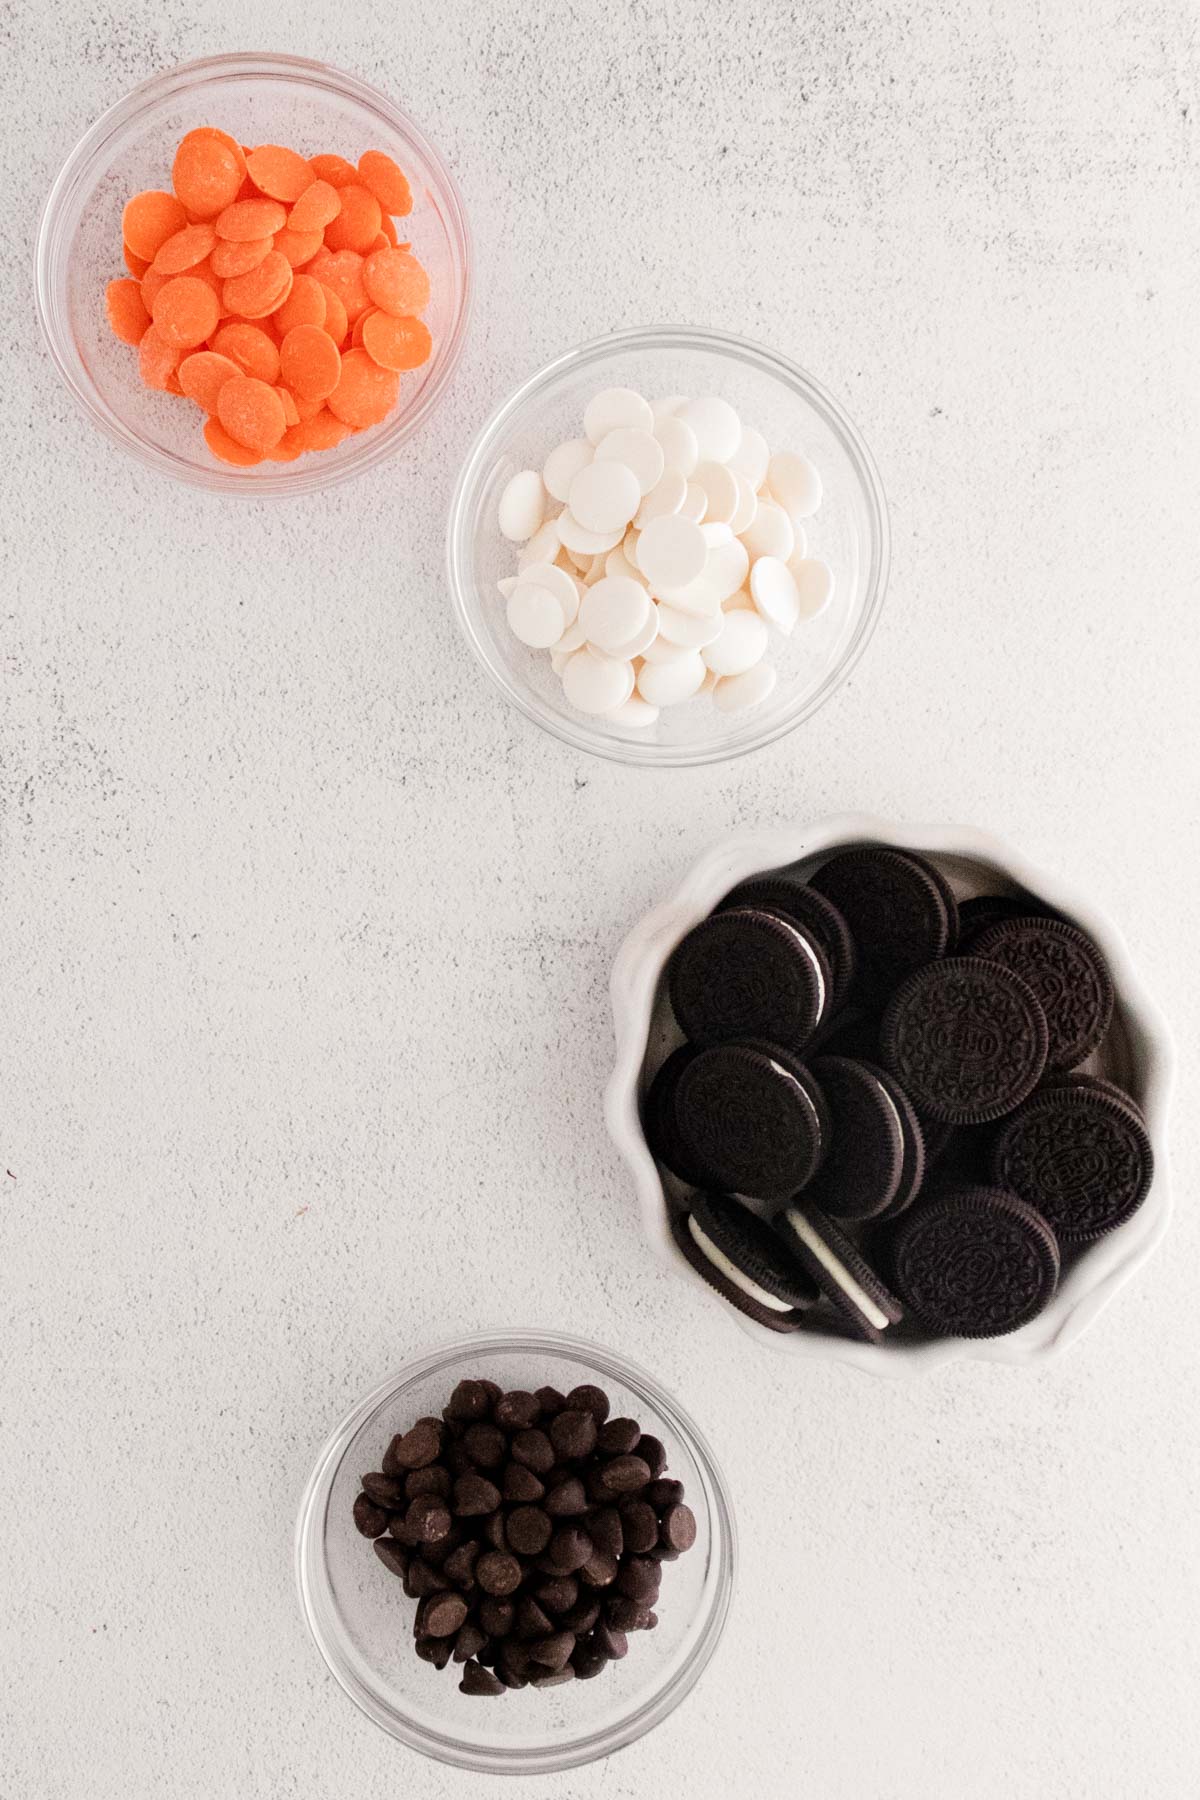
- Oreos – The main ingredient! You can use any kind of Oreos you want, but I like getting the Halloween ones with the orange creme filling.
- Vegetable shortening – Melted with the chocolate, this helps create a smooth outer shell. You can also use coconut oil instead (see below).
- Chocolate chips – These are for melting and dipping, and you can use any kind you like. I prefer milk or white chocolate in this recipe.
- Melting wafers (white and orange) – Bright white and orange-colored melting wafers taste like white chocolate, but the combination of brown, white, and orange chocolate dipped Oreos look great on a plate!
- Sprinkles & candy eyeballs – Add these to the cookies while the chocolate is still soft so they stick. Go ahead and get crazy!
Substitutions & Variations
- Sub coconut oil for vegetable shortening: Melting coconut oil with chocolate also helps create that crunchy coating. For this recipe, you’ll need about ¾ tbsp (or 2 ¼ tsp) of coconut oil for each batch of chocolate.
- Switch up the chocolate chips: Use your choice of milk, semi-sweet, or dark chocolate chips for dipping.
- Use different kinds of Oreos: Try coating Golden, Chocolate, Peanut Butter, Mint, Double Stuf, or Mega Stuf Oreos. Or, use a mix of your favorites!
- Try different toppings: In addition to sprinkles, decorate your cookies with swirls of melted chocolate, icing, peanut butter drizzle, crushed pretzels, mini marshmallows, toffee bits, gummy bugs … the possibilities are endless!
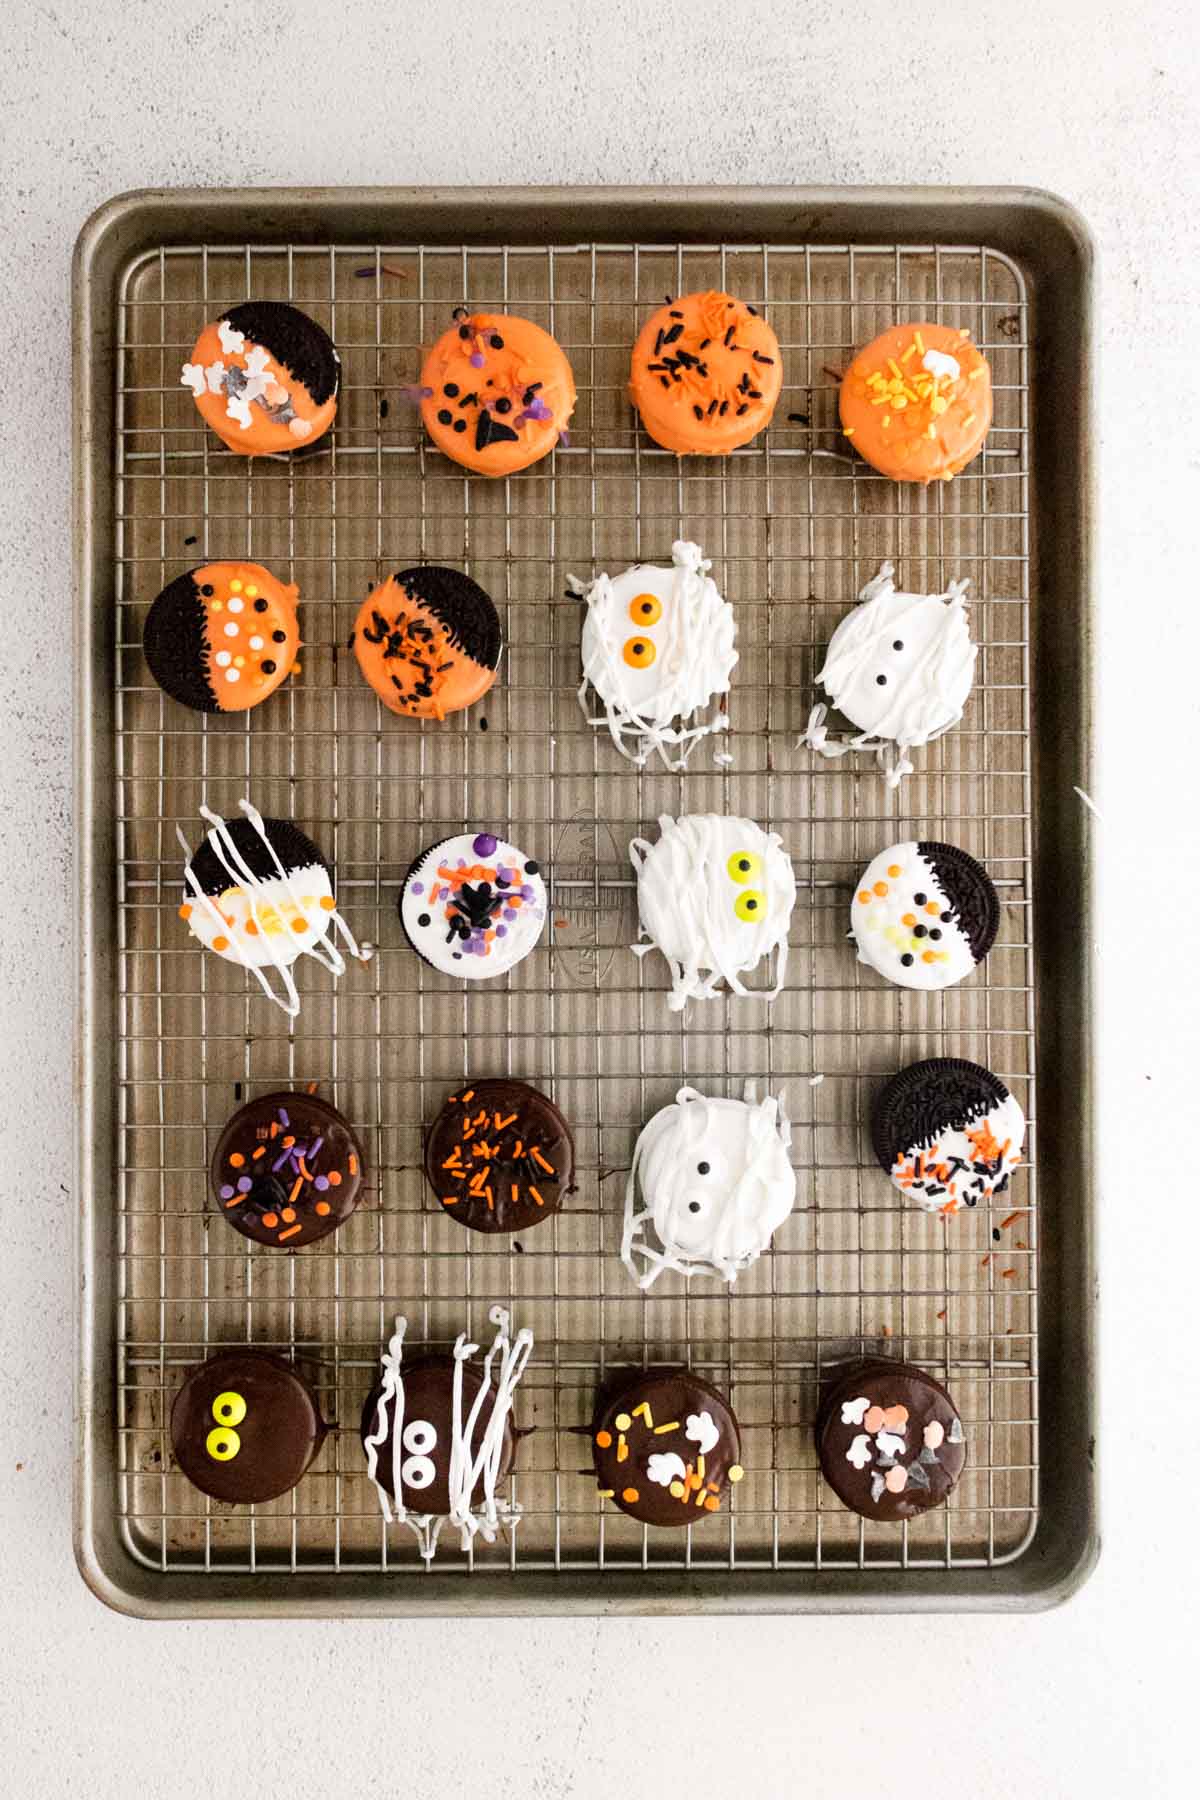
How To Make Chocolate Covered Oreos
- Melt – Microwave the chocolate and candy melts until melted at 30-second intervals in a microwave-safe bowl.
- Dip – Coat the Oreos in chocolate and candy, flip to cover the Oreo completely, then tap the fork on the bowl so any excess chocolate drips away, and then place on a parchment paper-lined baking sheet.
- Decorate – Add Halloween sprinkles and other colors of melted candy to decorate them for Halloween!
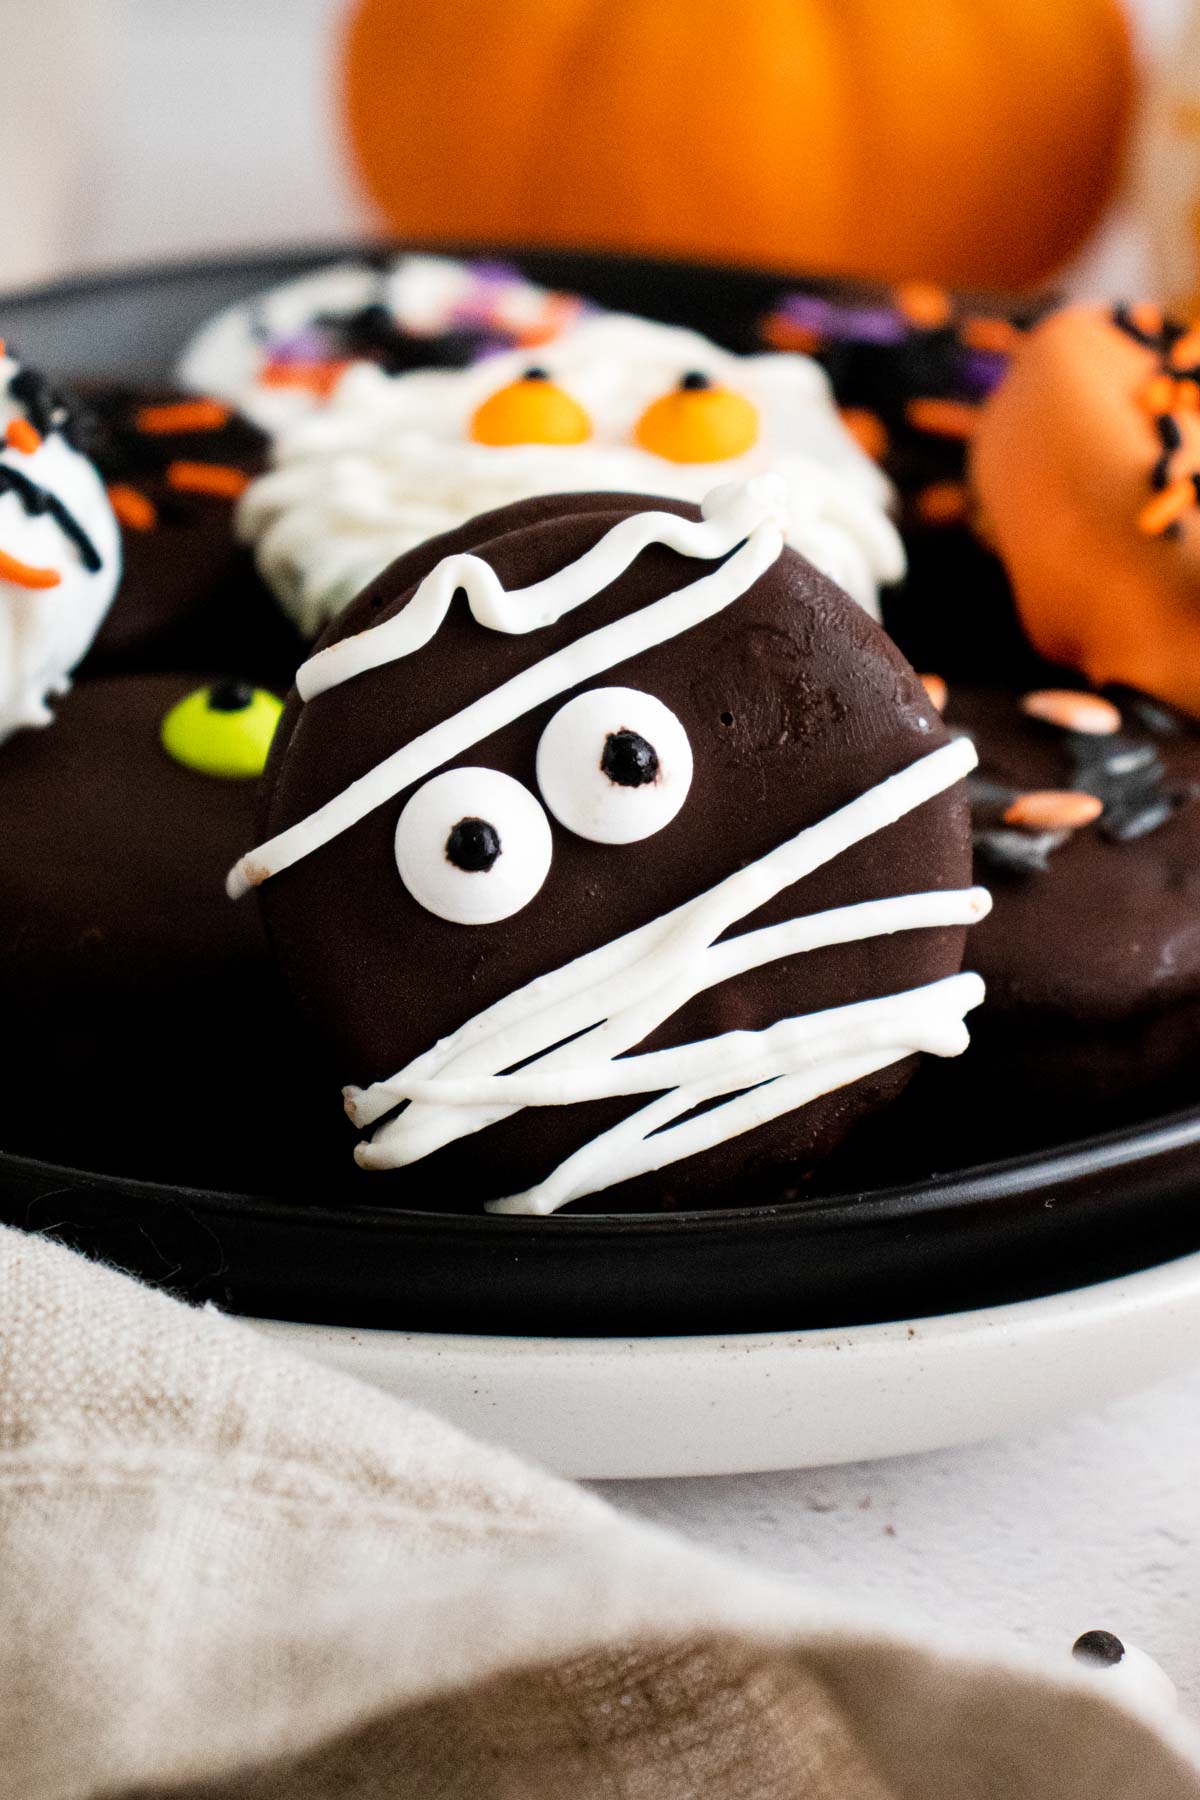
How To Store Chocolate Dipped Oreos
Store them in an airtight container at room temperature for up to 2 weeks.

More Oreo Recipes To Enjoy!
- Peanut Butter Brownies – They’re both tempting and easy. 😉
- Marshmallow Oreo Treats – Addictively delicious and just 3 ingredients.
- Easy Oreo Poke Cake – Cookie-studded chocolate cake, chocolate syrup, cookies and cream frosting!
- The Croissookie – Supernatural fans, take note! You only need 5 ingredients to make Dean’s favorite treat.
- Oreo Pudding Cookies – Dense, chewy, and filled with cookies and cream goodness!
Halloween Chocolate Covered Oreos
Pin It For LaterClick the button above to save this delicious recipe to your board!
Steps
In a small microwave-safe bowl, combine the chocolate chips with 1 tablespoon of vegetable shortening. Microwave on high for 30 seconds, stir and microwave for an additional 30 seconds. Stir again. By this point, your chocolate should be smooth and ready to dip.
Dip the Oreos one at a time into the chocolate, flipping it over to coat the entire Oreo evenly. Use a fork to remove the Oreo from the chocolate and tap the fork lightly on the edge of the bowl to allow any excess chocolate to drip off.
Place the chocolate covered Oreo on a parchment-lined baking sheet or a baking rack— this will keep it from sticking once the chocolate has cooled.
Decorate the Oreo with candy eyes or sprinkles, or a drizzle of white or orange chocolate. Make sure to add any decorations before the chocolate has hardened or they won’t stick.
Repeat with 9 additional Oreos.
Repeat the same melting process for the remaining two candy melts. Place the finished Oreos in the refrigerator and allow them to chill for at least 20 minutes. This will help set the chocolate.
Store in an airtight container in the fridge for up to 2 days.
Notes
- You can substitute white chocolate for the candy wafers in this recipe, although white chocolate is difficult to melt and can burn easily. Candy wafers are highly recommended.
- Because the candy wafers harden so quickly, I recommended working with only one color of the chocolate at a time.
- You can substitute any color of melting wafer you have— green and purple would also be great for Halloween!
- If you don’t have colored melting wafers, add 1/4 teaspoon of gel food coloring for every 3/4 cup of wafers. It is important to use gel food coloring as the liquid can change the consistency of the melting wafers.
- You must use vegetable shortening in this recipe. Vegetable oil and/or butter are not recommended substitutions.
- Lastly, the exact sprinkles you use is completely up to you. I find that a mix of black, orange, white, and purple give a real Halloween look! You can also usually find pumpkins, ghosts, and witch hats at craft stores.
Nutrition
- Calories115
- Carbs15g
- Protein1g
- Fat6g
- Saturated fat3g
- Fiber1g
- Sugar11g
- Sodium63mg
Estimates per serving, when a serving size is listed.
More recipes
Eight more from the same shelf.