Walnut Brownies
These classic Fudge Brownies are loaded with rich, deep, chocolate flavor and have a crisp top and fudgy center and are sure to be loved by everyone!

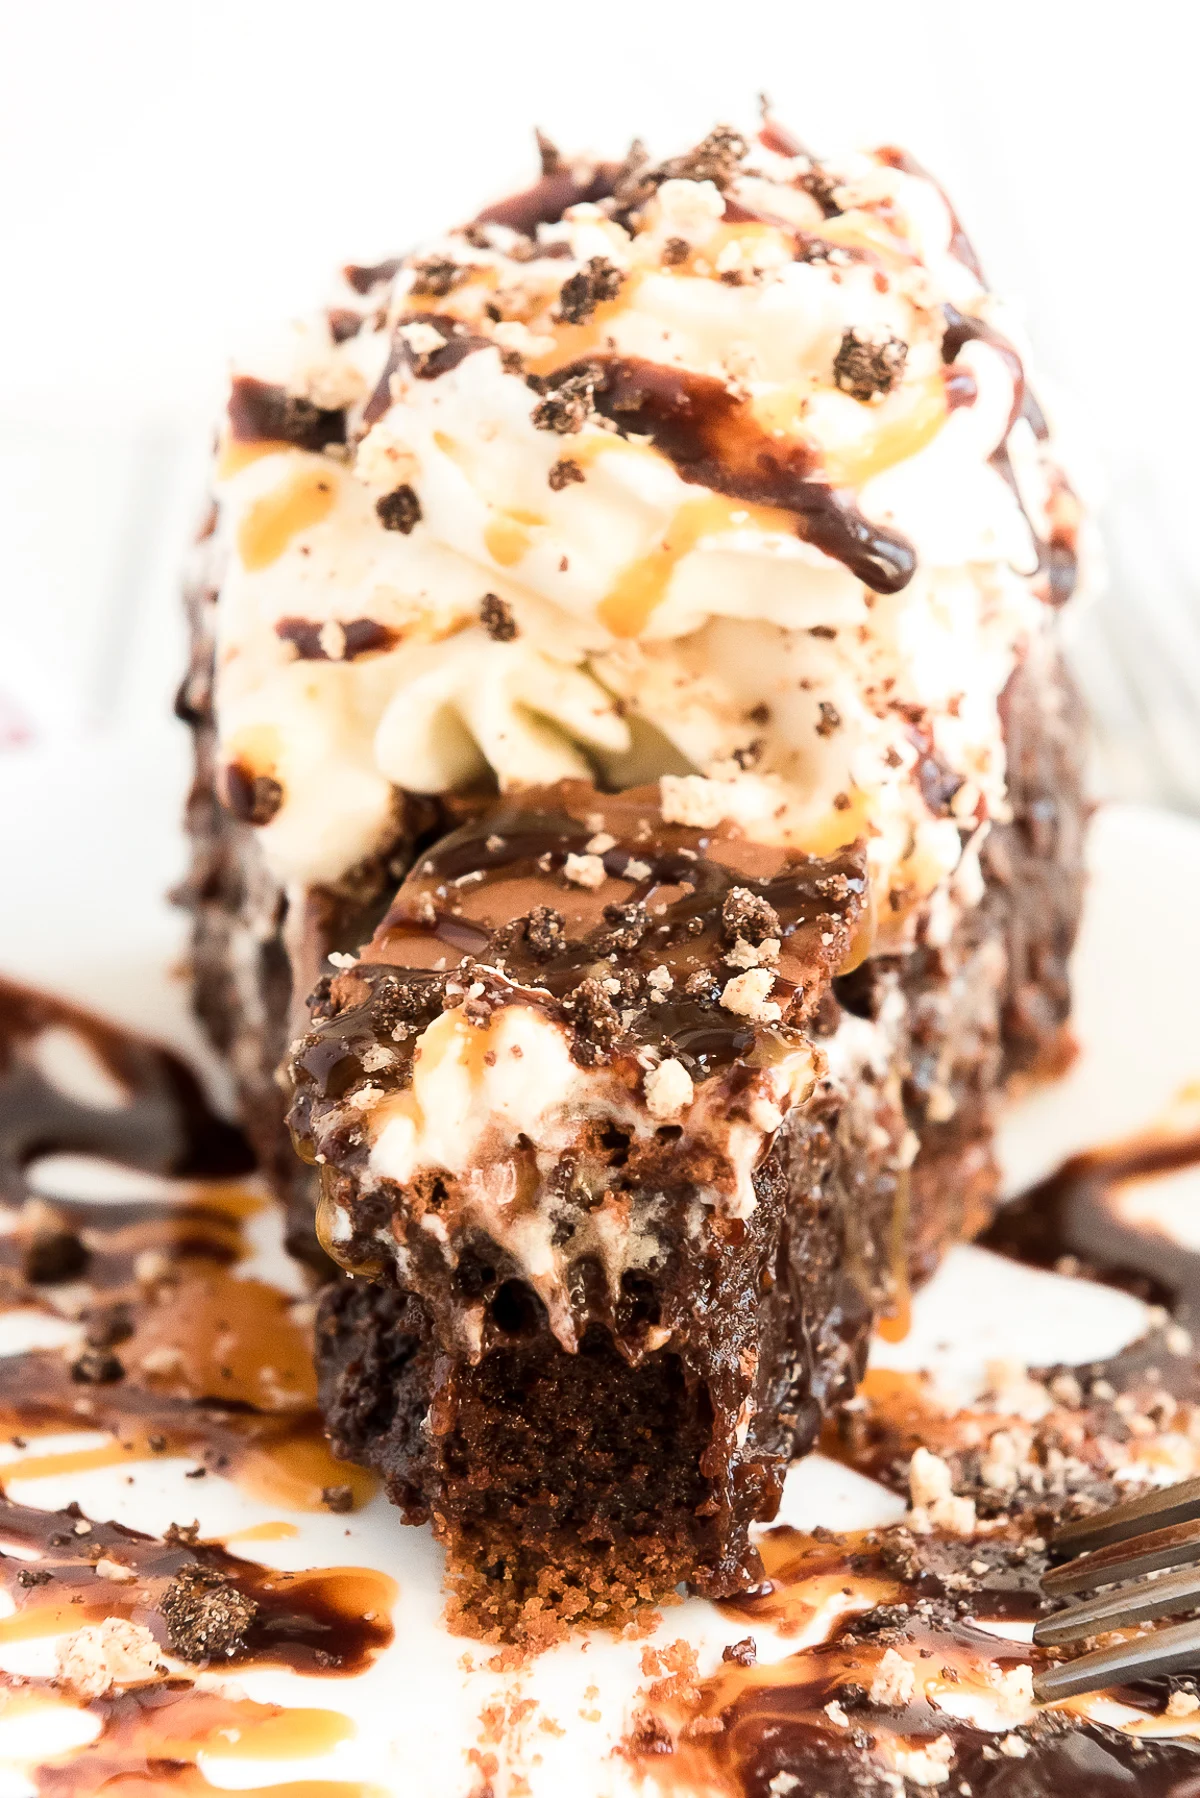
These Walnut Fudge Brownies have a mouthwatering fudgy texture loaded with crunchy toasted walnuts and rich chocolaty flavor! This easy yet incredible brownie recipe will be your new go-to, made using a one-pot stovetop technique and high-quality ingredients!
This Recipe For Brownies With Walnuts Is Better Than Grandma’s!
There isn’t much that compares to a sweet homemade brownie that’s filled with fudgy goodness and crunchy walnuts! These made-from-scratch brownies may even be better than Grandma’s… there, I said it!
And I know that’s a TALL order to fill! But hear me out, though this recipe for Walnut Brownies calls for simple, yet high-quality, pantry staple ingredients it uses a one-pot stove top technique that delivers the WOW! factor in these brownies.
This method skips the process of creaming the butter and sugar together and instead replaces it with melting the two together on the stovetop. This eliminates the air that gets incorporated in the creaming process, allowing the brownie batter to stay dense.
Dense brownie batter then creates chewy, fudgy brownies with zero cake-like texture. A delicious outcome that will have you making brownies with this easy technique every.single.time!
Chocolate Walnut Brownies Ingredients
To make the very best Walnut Brownies, we start with good quality pantry staple ingredients. That’s right, all but one or two ingredients in this recipe are likely tucked right in your pantry or refrigerator!
From the fridge, you’ll need unsalted butter as well as large eggs. However, if you only have salted butter on hand, you can use that and just omit the additional salt that the recipe calls for.
Then head to the pantry to gather up chopped walnuts, granulated sugar, canola oil, vanilla extract, all-purpose flour, and salt. You’ll also need unsweetened cocoa powder, and this is an ingredient you can choose according to the outcome you’re looking for.
One last ingredient on the list is malted milk powder. This simple ingredient creates a better flavor profile in the brownies however, since it doesn’t impact them structurally, you can leave this out if desired.
How To Make Homemade Walnut Brownies With The Perfect Crunch
- Preheat your oven and then line your baking dish with parchment paper and lightly spray it with cooking spray.
- Toast the chopped raw walnuts by spreading them out on a small baking pan and transferring them into the oven. Stir the walnuts halfway through and then allow them to cool once they are finished toasting in the oven.
- Melt unsalted butter with granulated sugar in a saucepan over low heat. Stir and heat the sugar mixture until it becomes smooth and has started to emulsify. Afterward, remove the mixture from the heat and allow it to cool.
- Stir canola oil and vanilla extract into the butter and sugar mixture.
- Beat in the eggs one at a time, mixing after each addition.
- Sift all-purpose flour, unsweetened cocoa powder, malted milk powder, and salt into the sugar and butter mixture. Stir the brownie batter until all of the dry streaks are almost gone.
- Fold the mini semi-sweet chocolate chips and a portion of the toasted walnuts into the brownie batter.
- Pour the brownie batter into the prepared baking dish and top the batter with the remaining toasted walnuts.
- Bake the Walnut Brownies according to the size pan you chose to use.
- Cool the homemade brownies before removing them from the pan to slice and serve.
How To Choose Your Cocoa Powder
I personally reach for Ghirardelli unsweetened cocoa powder; however, feel free to choose the cocoa powder that yields your preferred taste in brownies. Let me break the choices down for you:
- Unsweetened Cocoa Powder – For brownies that are lighter in color and have a more concentrated chocolate flavor, you’ll want to use unsweetened cocoa powder.
- Dutch-Process Cocoa Powder – This cocoa powder is the perfect choice if you enjoy brownies with a more intense, rich chocolaty flavor.
- Black Cocoa Powder – For those who prefer a non-bitter taste that’s similar to Oreo cookies in terms of color and deep flavor, choose black cocoa powder.
- Pan Size—You can bake this brownie recipe in a rectangular 9×13-inch pan for about 1-inch thick brownies. Or you can bake them in an 8×8 or 9×9-inch pan, which will deliver brownies that are about 2 inches thick. The recipe is the same, except that the smaller baking pan will need to bake longer since the brownies turn out thicker.
- Parchment Paper – To easily remove the entire batch of brownies from the baking pan, make sure some of the parchment paper is over the edge of the pan. This will allow you to gently grip the paper and remove the brownies once they’ve cooled. This may require two sheets, one going in each direction of the pan.
- Measuring Ingredients – Use a kitchen scale to measure out the dry ingredients to bake up the most accurate batch of brownies in terms of taste and texture.
- Preventing Evaporation – When melting the butter and sugar on the stovetop be sure to remove the saucepan from the heat once the two have started to emulsify. Do not let it get to a boil as this would cause evaporation and impact the recipe.
- Cake-Like Texture – You can omit the mini semi-sweet chocolate chips to achieve a more cake-like texture in these Walnut Brownies.
- Slicing & Serving – Allow the brownies to completely cool before removing them from the pan. Then when you’re ready to slice them, I recommend using a plastic knife since I’ve found they give the cleanest, mess-free lines!
How To Store Fudgy Walnut Brownies
To Enjoy Now: Tightly cover the cooled baking dish using plastic wrap or aluminum foil. Alternatively, you can also transfer brownie slices into an airtight container or large Ziploc bag with parchment paper separating the layers.
Store the brownies at room temperature to enjoy for up to 3 to 4 days.
To Enjoy Later: To freeze Homemade Walnut Brownies, first allow them to completely cool. Afterward, transfer slices into a freezer-safe container or Ziploc bag with parchment paper separating the layers.
To freeze individual slices, wrap each brownie in plastic wrap and again in aluminum foil.
These Walnut Chocolate Brownies can then be stored for up to 3 months in the freezer. When you’re ready to enjoy the brownies just thaw them at room temperature!
More Yummy Brownie Recipes
- Texas Sheet Cake Brownies – The ultimate way to serve a delicious dessert to a large crowd!
- Peanut Butter Crunch Brownies – Gourmet brownies that are actually easy to make!
- Lactation Brownies – A sweet treat that will boost your breast milk supply!
- Coffee Brownies – An elite flavor combination that you won’t be able to resist!
- How To Make Box Brownies Better – Not a baker? Then try out these simple hacks to make box mix brownies better!
Steps
Preheat oven to 350°F and line a metal 8x8, 9x9, or 9×13-inch cake pan with parchment paper and spray lightly with cooking spray. Make sure some of the parchment is over the edge of the pan for easy removal. This may require two sheets, one going in each direction for a 9x13-inch pan – make sure the one that goes across the shorter distance is under the one that goes along the full length of the pan.
Add to a skillet and toast over medium heat for 5 to 7 minutes, stirring frequently. You can also spread them out on a small baking pan and toast for 7 minutes, stirring halfway through. Remove and allow to cool while you finish preparing the batter.
Melt in a heavy-bottomed saucepan over low heat. Add and stir until smooth, the butter and sugar have started emulsifying, and no butter is separated from the sugar. Remove from heat and let the mixture cool for 5 minutes, stirring often to release heat.
Add and to the butter and sugar and beat them in with a rubber spatula until fully combined and there's no separation between the ingredients (no oil resting on top).
Beat in one at a time, beating with the spatula or a fork after each one. Mix until fully incorporated.
Sift the , , , and into the butter and sugar mixture, stirring gently with a rubber spatula just until almost all the dry streaks are gone.
Fold in most of the and ¾ cup of the toasted walnuts.
Pour the brownie batter into the prepared baking pan and top with the remaining ¼ cup of toasted walnuts and reserved chocolate chunks, and bake for 25 to 30 minutes for a 9x13-inch pan or 40 to 45 minutes for an 8x8 or 9x9-inch pan.
Cool before removing it from the pan and slicing it for best results. Use a plastic knife for the cleanest cuts.
Nutrition
- Calories284
- Carbs31g
- Protein4g
- Fat18g
- Saturated fat8g
- Fiber2g
- Sugar24g
- Sodium92mg
Estimates per serving, when a serving size is listed.
More recipes
Eight more from the same shelf.